How to Prepare a Concrete Floor for Painting
So, you’ve just moved into a beautiful new home, and now you’re staring at that bare concrete floor, wondering how to improve it. A well-done floor can transform a cold garage or bland patio into a polished, clean space. But before you break out a paintbrush, turn your focus to concrete surface prep. You’ll need to do it right the first time to avoid bubbling, peeling, and endless touch-ups.
Preparation of Painting the Concrete Floor:
Step 1: Deep Cleaning
Unless your concrete is freshly poured, it’s probably been through a lot. To make sure the paint will stick, sweep up debris and scrub the floor with a degreaser or heavy-duty detergent. Oil spots need special attention. A pressure washer helps, too, but don’t go overboard. You want clean, not damaged, concrete floors. Keep the PSI under 1,750 to avoid gouging the surface.
Step 2: Etching Concrete for Paint
Etching opens up the surface so the paint can soak in. Use a concrete etching solution or muriatic acid and follow the safety instructions closely. Rinse thoroughly and let it dry completely. When you’re done, the surface should feel rough, like sandpaper.
Step 3: Patching It Up
Any cracks or holes need to be filled before painting. Use a concrete patch or crack filler and let it cure fully. Then, sand everything smooth. You want a level surface, not a bumpy tripping hazard.
Step 4: Performing a Moisture Check
Concrete holds onto moisture, which prevents paint from sticking. At this point in your concrete surface prep, tape a plastic sheet to the floor and leave it for 24 hours. If you come back to find condensation underneath, it’s not ready. You’ll either need to wait longer or apply a vapor barrier primer.
Step 5: Priming the Concrete Floor
Now that the floor is clean, etched, patched, and dry, it’s time to prime it. A good concrete primer helps the paint bond to the surface and gives it an even finish. Some products are paint-and-primer combos, but dedicated primer is usually the safer bet.
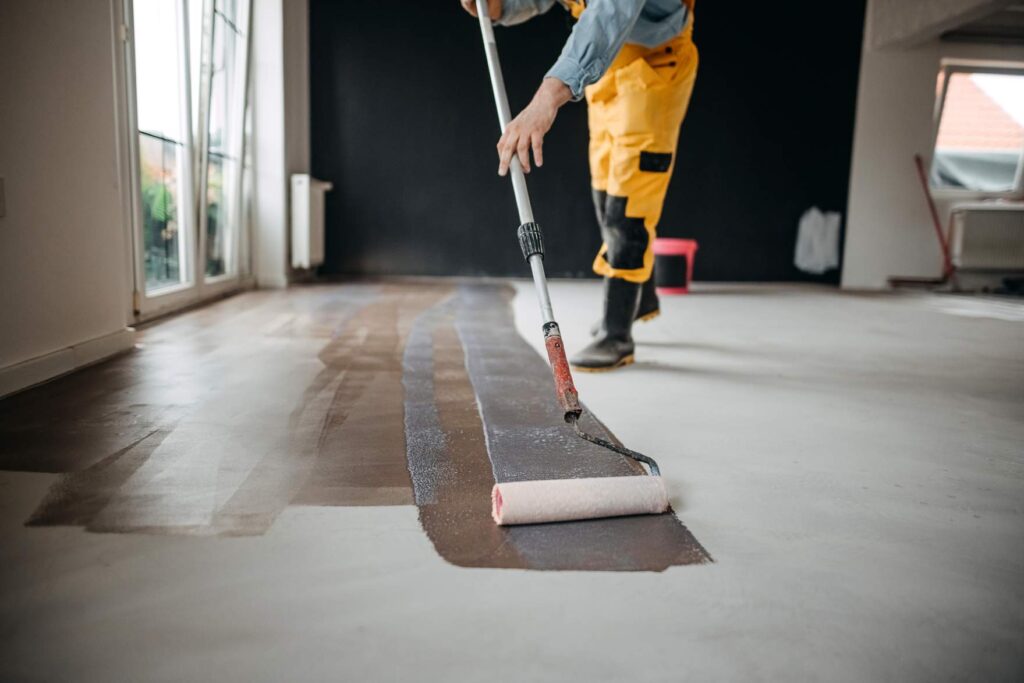
Step 6: Choosing and Applying the Right Paint
Don’t grab the first can of paint you see at the hardware store. Epoxy-based or latex-epoxy hybrids specifically designed for concrete are the way to go.
Apply two coats. The first coat should be thin to grip the surface, and the second should be thicker for durability. Let the first coat dry for at least four hours, and avoid walking or driving on the finished surface for several days.
Rethink the DIY Route
Now that you know what’s required, are you still excited about this DIY project? Painting your own floor might sound gratifying, but this weekend project can spiral into a month-long saga if things go sideways. Even with the right concrete surface prep, store-bought paints tend to wear out relatively quickly. You’ll be left doing touch-ups or full re-dos far sooner than you’d like.
On the other hand, professional coatings—like polyaspartic, polyurea, and commercial-grade epoxy—offer more durable, long-lasting finishes. Plus, we handle professional installation with industrial tools and precision, taking the guesswork out of the project.
Don’t Settle for Paint
A professionally installed concrete floor coating stays flawless for years, saving you money and hassle in the long run. Trust Custom Floor Coating in Jacksonville and St. Augustine for a job well done. Contact us today for a free estimate.